
Apply JimmyGel like a PRO
- Apr 25
- 3 min read

So you want to try JimmyGel & make sure you get the most out of this amazing product?
Whether you are a seasoned pro with applying Builder In A Bottle Gels, or you're just getting started with all things structured manicure - this article is for you!
Before we get into it - if you have any questions - and I mean ANY questions - please get in touch! You can message us on instagram @gel_inc_supplies or send us an email at info@gelincsupplies.com
JimmyGel comes in 12 base colours, and 4 sheer colours. There is also a thinner formula, skinnyJimmy, which has all the properties we know and love from the classic JimmyGel formula, with a thinner viscosity.
The prep:
Cleanse the nail well with LE Pro Cleanser - free from additives leaving a perfectly clean nail plate
Complete your favourite cuticle prep routine - whether you prefer manual or e-file
Etch the nail plate with a fresh 180 grit file - either Lexy Line files (that can be disinfected and reused) or the wooden core Finish Files (perfect for single use).
Shape the free edge as desired. Use a very light pressure and touch each part of the nail plate with the file only once.
Remove prep dust & debris, then cleanse thoroughly with LE Pro Cleanse & LE Pro Nail Wipes. Scrub each nail plate for a good couple of seconds, and make sure you get into the sidewalls to remove residual debris and oils!
The nail plate should now have a slightly chalky appearance, and you should see etch marks over the surface of the nail plate.
The application:
Easy To Soak Off:
While JimmyGel is a soak off product, it does take some time. If you would prefer to soak off your manicures rather than backfilling - these are the steps to follow!
Apply a thin layer of Airbond across the nail plate & allow to dry for 10+ seconds
Apply P+ QD (Quick Detach) Base Coat in a thin even layer and cure for 60 seconds in the LE Dot Curing Lamp
Apply JimmyGel in a thin layer, and while uncured, add a dollop of gel to add strength in the stress area of the nail. Make sure there is enough product to reinforce the free edge, and once levelled, cure for 60 seconds in the LE Dot.
BONUS TIP: I love flash curing each nail with the FlashDot Curing Lamp for 5-10 seconds so I can perfect each nail and lock it in before moving to the next, and then once all 5 fingers are done, they can get the full cure in the LE Dot Lamp. This minimises the product moving where it shouldn't and also protects from bumps when the nails enter the LE Dot!
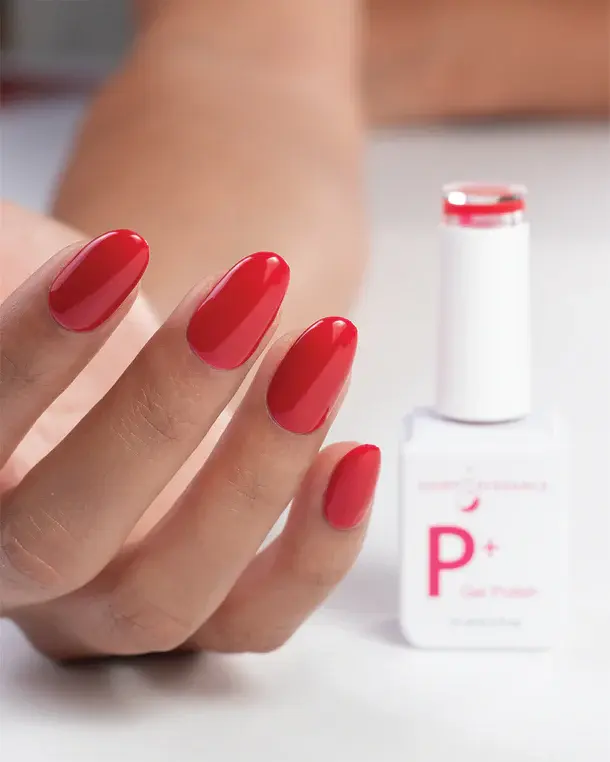
Apply your chosen P+ Polish, ButterCream or Glitter Gel
Application for Backfilling:
The main difference here is the use of Tack Bonding Agent rather than P+ QD Base Coat. Tack is an amazing Bonding Agent that creates a double sided sticky tape, ready for impressive adhesion for JimmyGel application (or Lexy Line Hard Gels)
Apply a thin layer of Airbond across the nail plate & allow to dry for 10+ seconds
Apply a thin layer of Tack across the nail plate & cure for 60 seconds in the LE Dot Curing Lamp.
Apply JimmyGel in a thin layer, and while uncured, add a dollop of gel to add strength in the stress area of the nail. Make sure there is enough product to reinforce the free edge, and once levelled, cure for 60 seconds in the LE Dot.
BONUS TIP: I love flash curing each nail with the FlashDot Curing Lamp for 5-10 seconds so I can perfect each nail and lock it in before moving to the next, and then once all 5 fingers are done, they can get the full cure in the LE Dot Lamp. This minimises the product moving where it shouldn't and also protects from bumps when the nails enter the LE Dot!
Apply your chosen P+ Polish, ButterCream or Glitter Gel
Not all nails have a one sized prep approach - so if you follow the above steps and run into issues, please don't hesitate to contact me for free troubleshooting support! Take some pictures & I will be able to really hone in on what might be going on.

Comments