
Apply P+ Gel Polish Like A PRO
- May 2
- 4 min read
Getting started with a new brand can sometimes feel a little overwhelming, from new prep routines to understanding what product to apply when! We get it, and we want to not only set you up for success with Light Elegance but also teach you our best tips & tricks from working with this amazing brand.
So, whether you are just getting started in the nail industry, or you are curious to try LE but have been doing nails for a while with other brands - this article is for you!
Before we get into it - if you have any questions - and I mean ANY questions - please get in touch! You can message us on instagram @gel_inc_supplies or send us an email at info@gelincsupplies.com
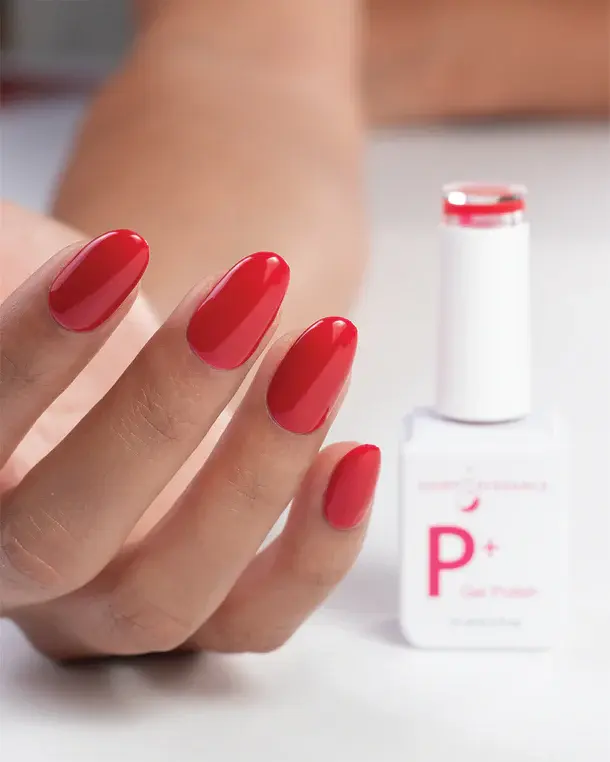
P+ Gel Polish is Light Elegance's Soak Off Gel system. It can be applied straight onto a natural nail, over JimmyGel Builder In A Bottle, or over Lexy Line Hard Gel - making it the most versatile colour system Light Elegance has. Boasting 3+ weeks wear, P+ Gel Polish is an awesome way to introduce your clients to Light Elegance.
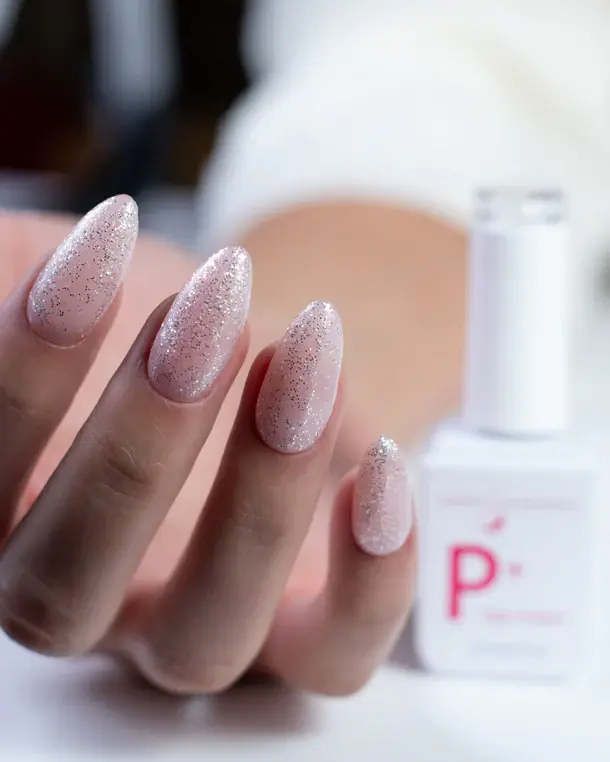
P+ Gel Polish is available in classic colour and glitter formulations, as well as the NEW Cat Eye and Jellies formulations - so you can create new and trending looks as well as classic & timeless manicures, all with the hypoallergenic, HEMA monomer free formulation.
The prep:
Cleanse the nail well with LE Pro Cleanser - free from additives leaving a perfectly clean nail plate
Complete your favourite cuticle prep routine - whether you prefer manual or e-file
Etch the nail plate with a fresh 180 grit file - either Lexy Line files (that can be disinfected and reused) or the wooden core Finish Files (perfect for single use).
Shape the free edge as desired. Use a very light pressure and touch each part of the nail plate with the file only once.
Remove prep dust & debris, then cleanse thoroughly with LE Pro Cleanse & LE Pro Nail Wipes. Scrub each nail plate for a good couple of seconds, and make sure you get into the sidewalls and finish with cleansing the free edge to remove residual debris and oils!
Once dry, the nail plate should now have a slightly chalky appearance, and you should see light etch marks over the surface of the nail plate.
The application:
Natural Nail Gel Manicure:
While the classic Gel Manicure seems to be a less popular choice with our clients these days, it's super important we go back to basics and start with the ground up!
Optional: Apply a thin layer of Airbond across the nail plate & allow to dry for 10+ seconds
Apply P+ QD (Quick Detach) Base Coat in a thin even layer and cure for 60 seconds in the LE Dot Curing Lamp
Apply your chosen P+ Polish colour in a thin, even coat to ensure full curing. Cure in the LE Dot Curing Lamp for 60 seconds.
Apply a second coat of your chosen P+ Polish colour in a thin, even coat to ensure full curing. Allow to self level to provide a full coverage, smooth coating before curing. Make sure to cap the free edge to ensure long lasting wear.
BONUS TIP: If you are experiencing any free edge pull back, the nail plate may not be fully cleansed (sometimes our clients like to touch things without looking in between steps!). Instead of applying a full hand & curing, you can apply the P+ Gel Polish to one nail plate at a time, & flash cure for 5-10 seconds with the flashDot curing lamp to lock the colour in place!
To finish the P+ Gel Manicure, apply your choice of P+ Top Coat - the NEW P+ High Shine No Wipe, or Flat Matte Top Coat, and cure for 60 seconds.
Over JimmyGel or Lexy Line:
P+ Gel Polish is compatible with all possible bases of Light Elegance, making it an easy and versatile colour system to have in your salon!
Apply your JimmyGel or Lexy Line products as recommended and cure in the LE Dot for 60 seconds.
If you don't wish to finish file - you don't have to! You can apply your chosen P+ Gel Polish Manicure colour straight onto your cured JimmyGel or Lexy Line base.
If you do finish file - cleanse thoroughly with the LE Pro Cleanser & allow to fully dry before applying your chosen P+ Polish colour. We recommend buffing if you finish file to provide a smooth surface for the gel application, particularly if you have used a stronger grit!
Over other branded product:
While it is not recommended to "mix" brands in a service, as the product performance can no longer be guaranteed, and products may not interact well together, the reality of working in salon is a bit different! Whether you are adding P+ Gel Polish to your salon but you already have a base system you love, you are looking at converting your salon to Light Elegance but have product to use up, or you have found some P+ colours you just can't live without, the below will set you up for success!
Note that this is only recommended over strengthening bases that are able to be finish filed, and is not recommended to be applied over a standard gel polish base from another brand.
After applying your chosen base, cleanse well & buff or finish file to create a textured surface.
Cleanse again, and once dry, apply your chosen P+ Gel Polish colour in a thin, even layer, and cure in the LE Dot for 60 seconds.
Not all nails have a one sized prep approach - so if you follow the above steps and run into issues, please don't hesitate to contact me for free troubleshooting support! Take some pictures & I will be able to really hone in on what might be going on.
COMING SOON: you can also sign up to our online course - LEU 101 | The LE Total Tour, which walks you through the full Light Elegance product offering and teaches P+ Gel Polish application. Learn more here!
Essential products:
Curious about where P+ Gel Polish fits in with the rest of the Light Elegance Gel Products? Check out this handy product presentation video from the amazing Celina Ryden!

Comments